|
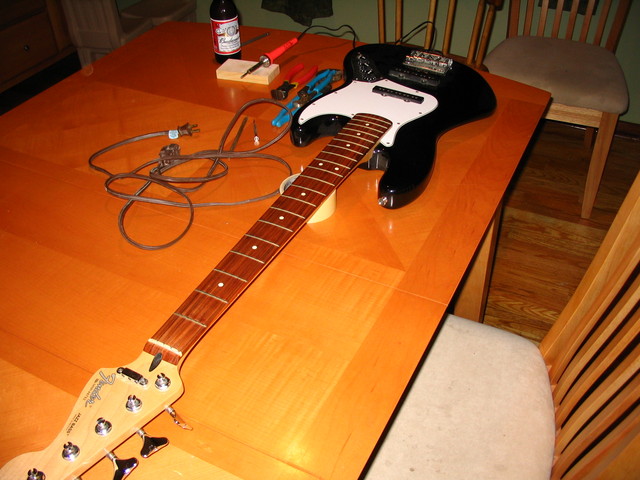
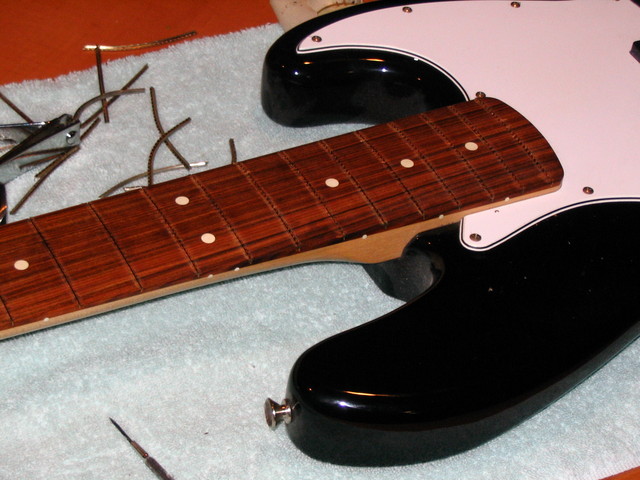
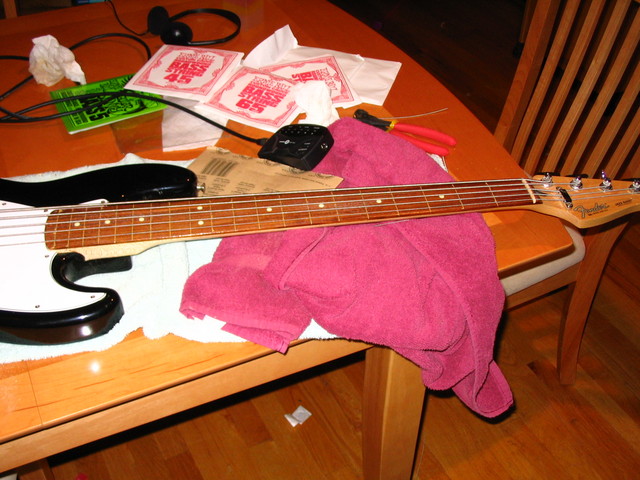
Before starting. It is a 5 string fender jazz (mexican). |
 |
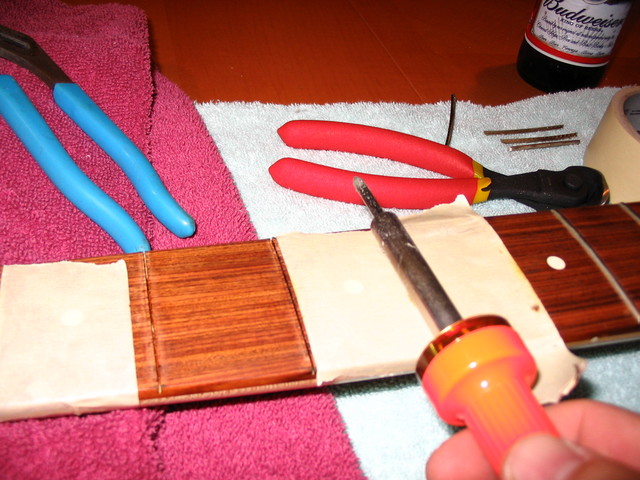
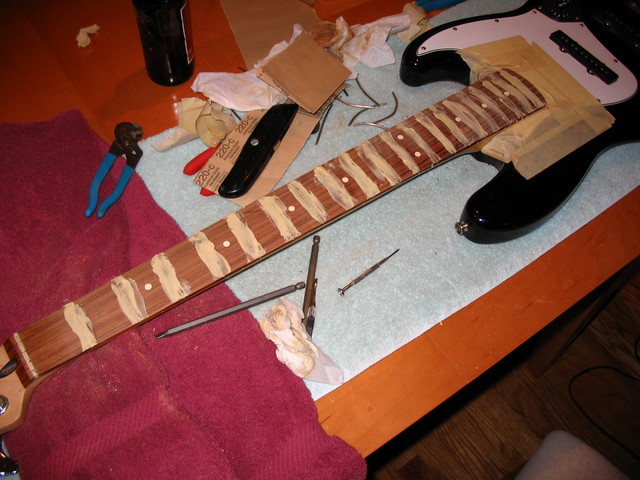
I'd use a soldering and heat up the fret and use the clippers to pull it up. Usually rolling it out, I probably should have gone for more straight up to cause less splintering. When you get closer to the bridge you may need to heat the frets several times as they are much larger than up the neck. I used the fat part of the soldering iron to get more coverage on the fret. I also used some masking tape to help keep the wood safe(r).
|

|
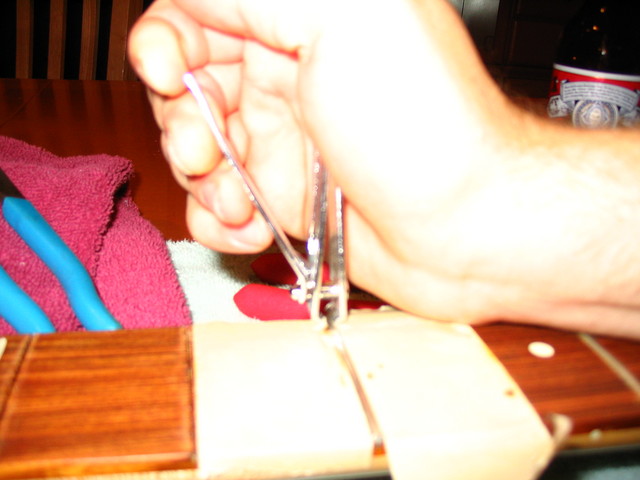
Just a shot of the clippers in action.
|

|
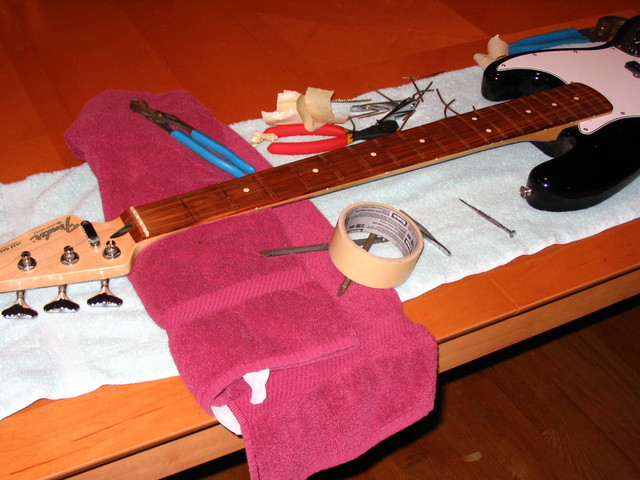
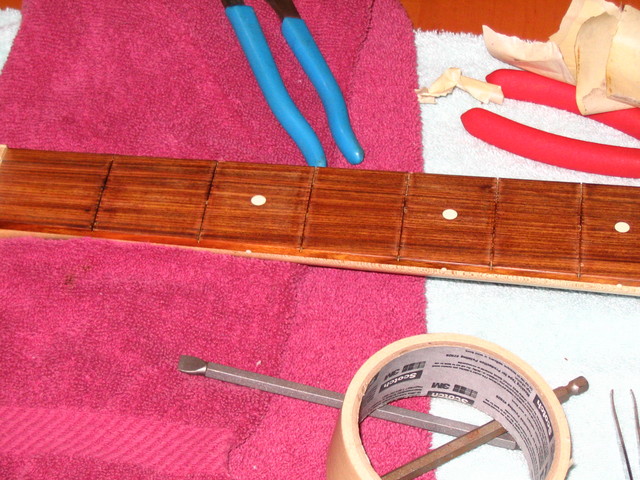
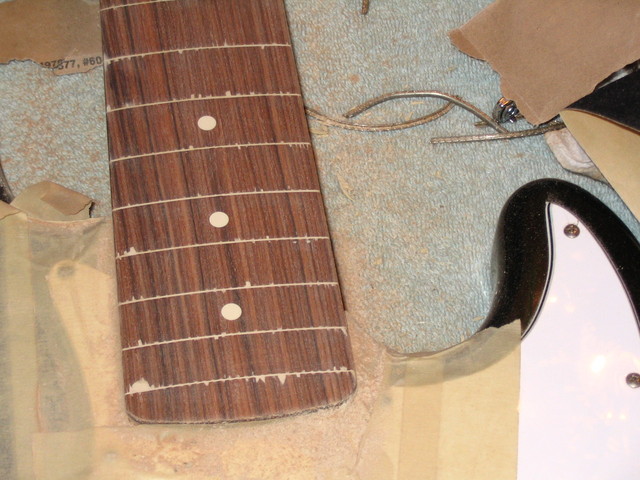
No more frets |

|
You can see small spintering from the fret teeth (yes, they have teeth) |

|
Upper neck is not too bad. |

|
You can sort of see the teeth on the fret so you can get an idea of what you are fighting against.
|

|
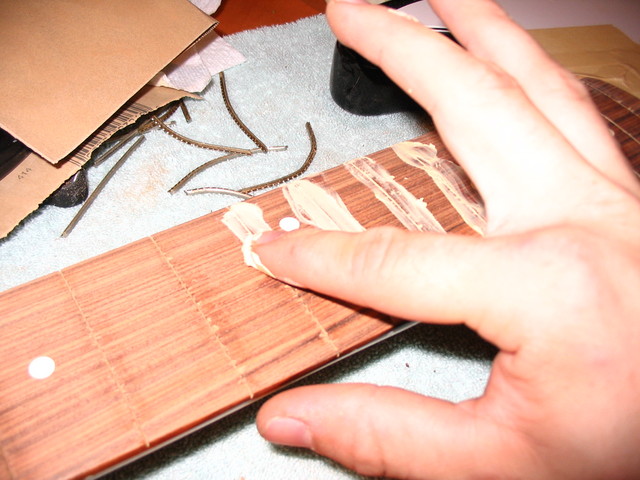
Applying putty with finger. It should be noted I also sanded with 220 grit here to smooth things out. I ended up doing all frets then cleaning it up via a moist towel and or sanding. I ended up doing 2 applications of putty due to shrinkage.
|

|
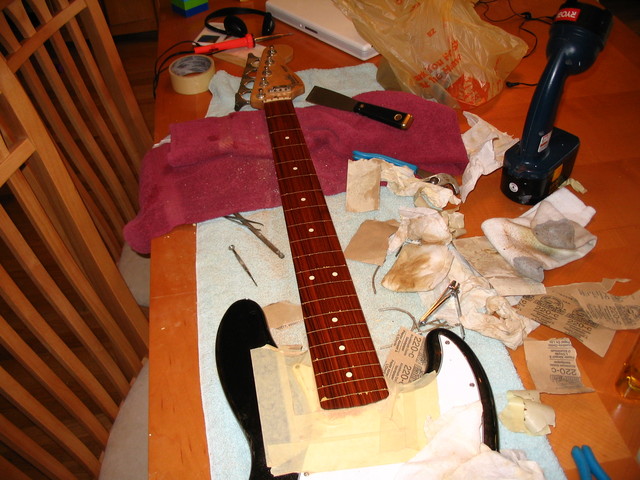
All putty'd up. |

|
Sanded up |

|
Here you can see what the splinters will end up looking like. If you use a putty closer to your actual color it'll probably not look as bad, but if you are defretting be prepared to have your neck look like that. (At a distance you won't really notice it). I liked the lighter putty due to the lines. Maybe once I become a fretless master (hahah!) I'll get a real fretless w/o lines. |

|
Sanded more, then cleaned it with lemon oil which brought the color back. |

|
Then I put on 6 coats of poly. This is the slow part. Be sure you get the entire thing covered. |

|
The finished product, complete with cheap ernie ball strings. (all I had around). You can't really see the fret splinters. It plays nicely so far, but I may sand the poly a bit more to get it smoother. It has a nice amount of mwah, and I may lower the action to get more.
|
| I ended up removing the poly as I hated the feel to it. I also lowered the action and now it feels much better and is a mwah machine.
|